How to Patch Test Chamomile Essential Oil Before You Use It on Skin
Chamomile essential oil has a long history in home botanical routines, prized for its soft, apple-like scent and its gentle reputation among essential oils. But "gentle" is a relative word in aromatherapy. Every essential oil, chamomile included, is a concentrated plant extract, and concentrated plant extracts can occasionally cause redness, itching, or discomfort on some people's skin, even when properly diluted. That is exactly why a patch test matters, and why skipping it is one of the most common mistakes new essential oil users make.
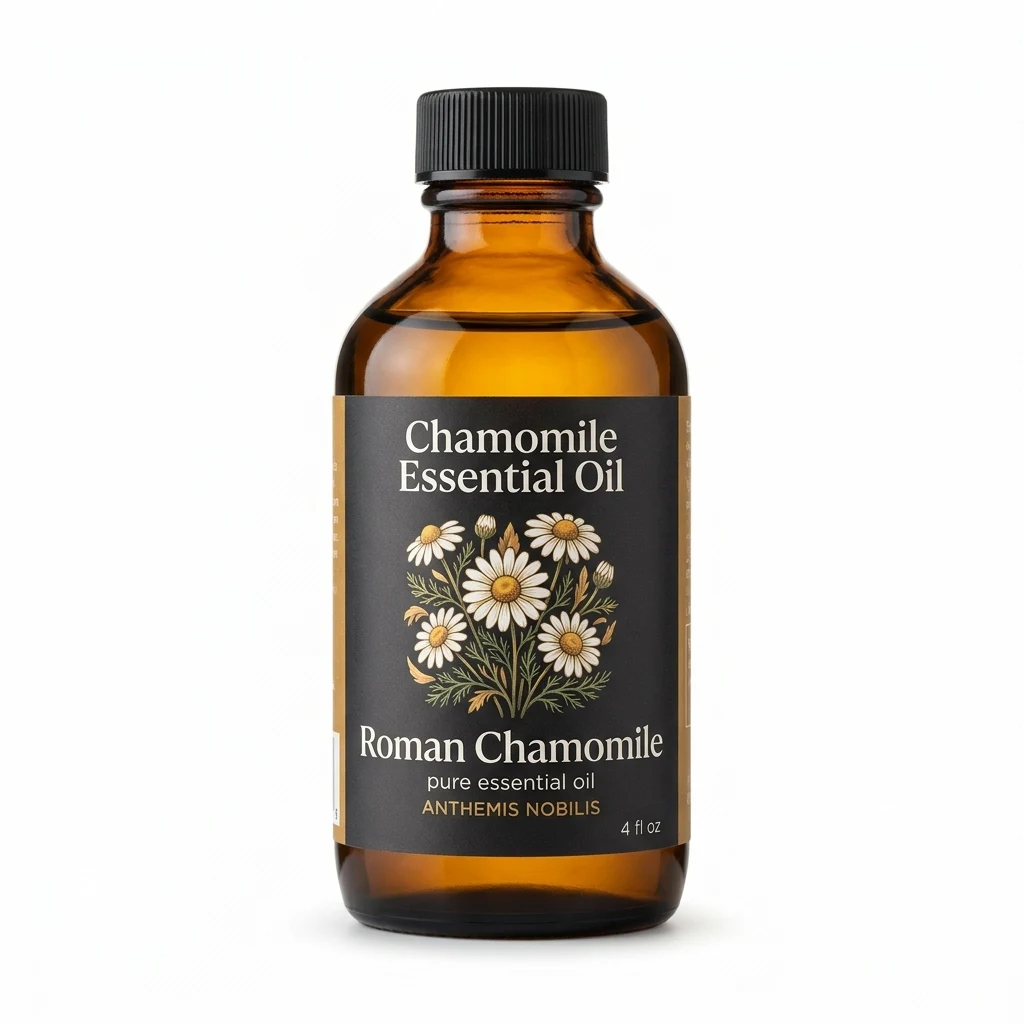
Roman Chamomile Essential Oil
Our own Roman Chamomile Essential Oil, in sizes from 0.5 oz to bulk.
From $32.99
Shop Now →This guide walks through how to patch test essential oil products in general, with specific steps for a chamomile essential oil patch test. You will find a materials list, numbered instructions, timing guidance, common pitfalls, and what kind of results to expect. Nothing here replaces the advice of a qualified healthcare provider, and if you have known plant or ragweed-family sensitivities, a conversation with one before you experiment with chamomile is a smart first move.
Why Patch Testing Matters, Even for a "Gentle" Oil
Chamomile is often recommended to people newly exploring essential oils precisely because it has a reputation for being mild. Roman chamomile in particular is a frequent starting point in blends meant to support a calm, unwinding atmosphere at the end of the day. That reputation is earned, but it is not a guarantee. Skin response to plant extracts varies from person to person based on genetics, existing skin condition, sun exposure, and even the specific chemotype and growing conditions of the chamomile itself.
An essential oil skin sensitivity test does not tell you whether an oil is good or bad. It tells you how your individual skin responds to it, on this particular day, at this particular dilution. That is a narrow but genuinely useful piece of information, and it is the whole point of the exercise.
Materials You Will Need
- Chamomile essential oil, ideally from a supplier who publishes batch testing or a certificate of analysis, so you know what you are actually applying.
- A carrier oil such as jojoba, sweet almond, or fractionated coconut oil. Chamomile essential oil should never touch skin undiluted.
- A small glass or ceramic mixing dish. Avoid plastic, since concentrated essential oils can degrade some plastics over time.
- A clean glass stir rod, toothpick, or cotton swab for mixing.
- Two adhesive bandages (optional, but useful for keeping the area undisturbed) or a clean cotton pad and a strip of medical tape.
- A pen or fine-tip marker to note the time and date near the test site, or a phone reminder set for 24 and 48 hours out.
- Mild, fragrance-free soap and water for cleaning the area afterward.
Resist the urge to substitute ingredients you already have lying around if they are not on this list. A carrier oil that is itself heavily fragranced, or a mixing container with residue from a previous project, can muddy your results and leave you unsure whether the chamomile oil or something else caused a reaction.
How to Patch Test Chamomile Essential Oil: Step by Step
Step 1: Choose Your Dilution Ratio
Patch test before diluting chamomile oil at full strength is not the goal here. You want to test the same dilution you actually intend to use on your skin, because that is the exposure that matters. A common home dilution for facial or sensitive-area use is around 0.5 to 1 percent, which works out to roughly 1 drop of chamomile essential oil per teaspoon (5 mL) of carrier oil. For body use away from the face, some people go up to 2 percent, or about 2 drops per teaspoon of carrier oil. When in doubt, start lower. You can always test a stronger dilution later if the first test goes well.
Step 2: Mix the Test Blend
In your glass dish, combine your measured carrier oil and chamomile essential oil using the stir rod or swab. Mix thoroughly so the chamomile oil is evenly distributed rather than sitting in a concentrated droplet within the carrier. An uneven mix can give you a false sense of how the diluted oil behaves, since one spot might be far more concentrated than the rest.
Step 3: Pick the Right Test Site
The inside of the forearm, just below the elbow crease, is the classic choice for a reason: the skin there is thin enough to be reasonably reactive but not so exposed that a mark would be noticeable or inconvenient if you needed to keep testing for a couple of days. The inner elbow crease itself works well too. Avoid your face, neck, or any area with broken skin, sunburn, or an existing skin concern for this initial test.
Step 4: Apply a Small Amount
Using the swab or a clean fingertip, apply a dime-sized amount of the diluted blend to roughly a one-inch patch of skin. You do not need to rub it in vigorously; a light, even coating is enough. Let it air dry for a minute or two before covering.
Step 5: Cover and Note the Time
Cover the area loosely with a bandage or cotton pad and tape, and write down the exact time you applied it. This step is easy to skip, and it is also the step that saves you from guessing later whether you are looking at a 6-hour response or a 30-hour one.
Step 6: Wait and Observe at 24 Hours
Leave the area alone. Do not shower with hot water directly over the site, and try not to pick at the covering. At the 24-hour mark, remove the covering and look closely at the skin. You are checking for redness, swelling, itching, small bumps, or any discomfort that extends beyond the immediate test area.
Step 7: Check Again at 48 Hours
Some skin responses take longer to appear than others, which is why a single quick glance an hour after application is not a reliable stopping point. Recheck the site at 48 hours. If the skin looks and feels the same as the untreated skin around it, that is generally read as a favorable sign for that specific dilution.
Step 8: Clean the Area and Record Your Results
Wash the test site gently with mild soap and water once you are done observing. Keep a simple note, on paper or in your phone, of the chamomile oil batch, the dilution ratio, and the outcome. If you ever change suppliers or notice a new bottle smells or looks different from your last one, it is worth repeating the test, since natural variation between harvests can change an oil's composition slightly.
Common Mistakes to Avoid
- Testing the undiluted oil. Applying chamomile essential oil directly to skin, even for a "quick check," raises the odds of a reaction and does not reflect how you will actually use the oil.
- Checking too soon and calling it done. A clear result at the one-hour mark does not rule out a response that shows up later. Stick with the full 24 to 48 hour window.
- Testing on already irritated or sun-exposed skin. This can produce a false positive, making you think the oil is the problem when the skin condition already present is doing the work.
- Using an old or improperly stored bottle. Essential oils oxidize over time, particularly once opened and exposed to air, heat, or light. An oxidized oil can behave differently on skin than a fresh one, so store your chamomile oil in a dark glass bottle, away from heat, and replace it within the window your supplier recommends.
- Skipping the retest after a formula change. If you patch tested a 1 percent dilution and later decide to try a stronger blend, or a different carrier oil, that is technically a new formula. Test again rather than assuming the original result still applies.
- Ignoring mild results because you are eager to use the oil. Slight redness or itching, even if it fades quickly, is information. It is worth trying a lower dilution or a different carrier oil rather than pushing forward with the same blend.
What Results to Expect
Most people who patch test a properly diluted chamomile essential oil blend report no visible change at the test site after 48 hours. This is generally taken as a reasonable, though not absolute, indicator that the blend may be suitable for the intended use on other parts of the body, applied at the same dilution. It does not guarantee an identical response everywhere on your skin, since some areas are naturally more reactive than others, nor does it guarantee a lack of response on a different day or after repeated exposure over time.
If you notice redness, swelling, itching, small bumps, or a burning sensation at any point during the test, discontinue use of that blend. Wash the area with mild soap and water. In most mild cases, the skin returns to normal on its own within a short time once the oil is removed and reapplication stops. If a reaction seems severe, spreads beyond the test site, or does not settle down, it is best to consult a qualified healthcare provider rather than guessing at next steps on your own.
A patch test is a small, low-effort habit that pays for itself the first time it catches something you would not have wanted to find out about on your face.
How Often Should You Repeat the Test?
It is reasonable to patch test a new bottle of chamomile essential oil, a new carrier oil pairing, or a new dilution ratio each time one of those variables changes. Skin also shifts with the seasons, with hormonal changes, and with overall routine changes like starting a new skincare product line, so some people choose to repeat a patch test seasonally as a general habit, even when using an oil they have used before without any noted response.
A Quick Reference Table
| Step | Action | Approximate Time |
|---|---|---|
| 1 | Mix diluted chamomile blend (0.5 to 2 percent in carrier oil) | 2 to 3 minutes |
| 2 | Apply dime-sized amount to inner forearm | 1 minute |
| 3 | Cover and record start time | 1 minute |
| 4 | First check | 24 hours later |
| 5 | Final check | 48 hours later |
| 6 | Clean site and log results | 2 minutes |
Building the Habit
Patch testing takes about ten total minutes of hands-on effort spread across two days of waiting. That is a modest investment compared to the discomfort of finding out the hard way that a particular chamomile oil, carrier pairing, or dilution does not agree with your skin, especially if that discovery happens on your face or neck instead of a small, easily hidden patch on your arm. Treat the wait as part of the process rather than an inconvenience, keep simple notes on what you tested and when, and you will build a reliable, personal record of what actually works for your skin over time.
As always, this information is educational and general in nature. If you have a known sensitivity to plants in the daisy or ragweed family, are pregnant, are using the oil around children, or have any ongoing skin concern, talk with a qualified healthcare provider before adding chamomile essential oil to your routine.