Growing Chamomile for Oil: From Garden Flowers to Fragrant Harvest
There is something quietly satisfying about cultivating the very plant that ends up in your diffuser or your evening bath ritual. Chamomile essential oil begins long before the still or the bottle. It begins in the soil. Growing chamomile for oil is a project well within reach for most home gardeners, and understanding the full journey from seed to fragrant harvest gives you a genuine appreciation for why quality sourcing matters so much in the finished product.
Chamomile Essential Oil
Our own Chamomile Essential Oil, in sizes from 0.5 oz to bulk.
From $29.38
Shop Now →This guide focuses primarily on Matricaria chamomilla, also called German chamomile, the species most commonly used in essential oil production. Its small, daisy-like flowers carry the characteristic sweet, apple-tinged scent that has made chamomile one of the most beloved botanicals in aromatic and cosmetic applications worldwide.
Understanding the Two Main Types of Chamomile
Before you buy a single seed packet, it helps to know which chamomile you are actually growing. The two species most commonly found in gardens are Matricaria chamomilla (German chamomile) and Chamaemelum nobile (Roman chamomile). Both are beautiful. Both are aromatic. But they are quite different plants in habit and oil profile.
- Matricaria chamomilla (German chamomile): An annual that grows upright, often reaching 24 inches tall. It self-seeds prolifically. The essential oil distilled from its flowers is rich in chamazulene, the compound responsible for the deep blue color seen in genuine steam-distilled chamomile oil.
- Chamaemelum nobile (Roman chamomile): A low-growing perennial, often used as a ground cover. Its oil has a fruitier, more complex scent profile. Roman chamomile is also used in cosmetic applications, though it is less common in large-scale oil production.
For the purpose of growing chamomile flowers for oil in meaningful quantities, Matricaria chamomilla is the practical choice. It produces abundantly, finishes its cycle quickly, and self-sows freely so your patch often renews itself year after year with minimal effort.
What You Will Need
Gathering your materials before you start saves time and frustration. Here is a straightforward list for a small dedicated chamomile patch of roughly 4 by 6 feet, which is a good size for a first-time grower.
- Organic Matricaria chamomilla seeds (look for untreated, open-pollinated varieties)
- Well-draining garden soil or a raised bed mix with added coarse sand or perlite
- Compost, lightly worked into the top few inches of soil
- A fine-mesh seed-starting tray or a shallow container for indoor starting (optional)
- A gentle watering can or spray bottle for seedling care
- A pH meter or inexpensive soil test kit (target pH: 5.6 to 7.5)
- Small harvest baskets or paper bags for collecting flower heads
- A mesh drying screen or clean window screen set on risers
- Labels and a marker for tracking sow dates
You do not need fancy equipment. Chamomile is famously unfussy, and overcomplicating the setup is one of the most common beginner mistakes.
Step-by-Step Instructions for Growing Chamomile
Step 1: Choose the Right Location
Chamomile flowers for oil production need full sun, at least six hours of direct sunlight daily. Good air circulation matters too, because dense, humid conditions can encourage powdery coatings on the leaves late in the season. A south-facing bed with open exposure is ideal.
Avoid planting in heavy clay that holds water. The Matricaria chamomilla plant has a shallow, delicate root system that does not appreciate soggy feet. If your garden soil is dense, build a simple raised bed or amend generously with coarse sand and compost before planting.
Step 2: Prepare Your Soil
Chamomile prefers lean to moderately fertile soil. This is counterintuitive to gardeners used to heavy feeding, but a soil that is too rich in nitrogen pushes leafy growth at the expense of flowers. Fewer flowers means less aromatic material for your harvest.
Loosen the top 6 inches of soil. Mix in a thin layer of finished compost (no more than 1 to 2 inches). Check pH and adjust if needed. Rake the surface smooth and fine, because chamomile seeds are tiny and need good seed-to-soil contact to germinate reliably.
Step 3: Sow the Seeds
Chamomile seeds require light to germinate. This is important. Do not bury them.
Direct sowing outdoors works well in most climates. Wait until the last frost date has passed and soil temperatures are consistently above 45°F (7°C). Scatter seeds thinly across the prepared bed. Gently press them into the soil surface with the flat of your hand or the back of a trowel. Water with a fine mist so the seeds are not displaced.
For an earlier start, sow indoors 6 to 8 weeks before your last frost date. Use a seed-starting mix and press seeds onto the moist surface of filled trays. Place under grow lights or in a bright south-facing window. Germination typically occurs within 7 to 14 days at temperatures between 60 and 68°F (15 to 20°C).
Step 4: Thin and Transplant
Once seedlings reach about 2 inches tall and have developed their first set of true leaves, thin them to stand 6 to 9 inches apart. Crowding reduces airflow and limits flower development. If you started seeds indoors, harden off the seedlings over 7 to 10 days before transplanting outdoors. Set plants in the garden at the same spacing.
Handle seedlings gently at the root. The Matricaria chamomilla plant does not love root disturbance, so transplant on a calm, overcast day and water well immediately after.
Step 5: Ongoing Care
Water consistently but do not overwater. Once established, chamomile is surprisingly drought-tolerant. A deep watering once or twice per week during dry spells is usually sufficient. Let the soil dry slightly between waterings.
Skip the fertilizer. A single light top-dress of compost at the start of the season is all the nutrition this plant needs. Over-fertilizing reduces flowering noticeably.
Weeding is the most time-consuming part of early chamomile care. Young seedlings are easy to overlook among weed seedlings, so learn to identify the feathery, thread-like leaves of young chamomile early. Once plants are established and bushy, they shade out most competition on their own.
Step 6: Watch for Flowering
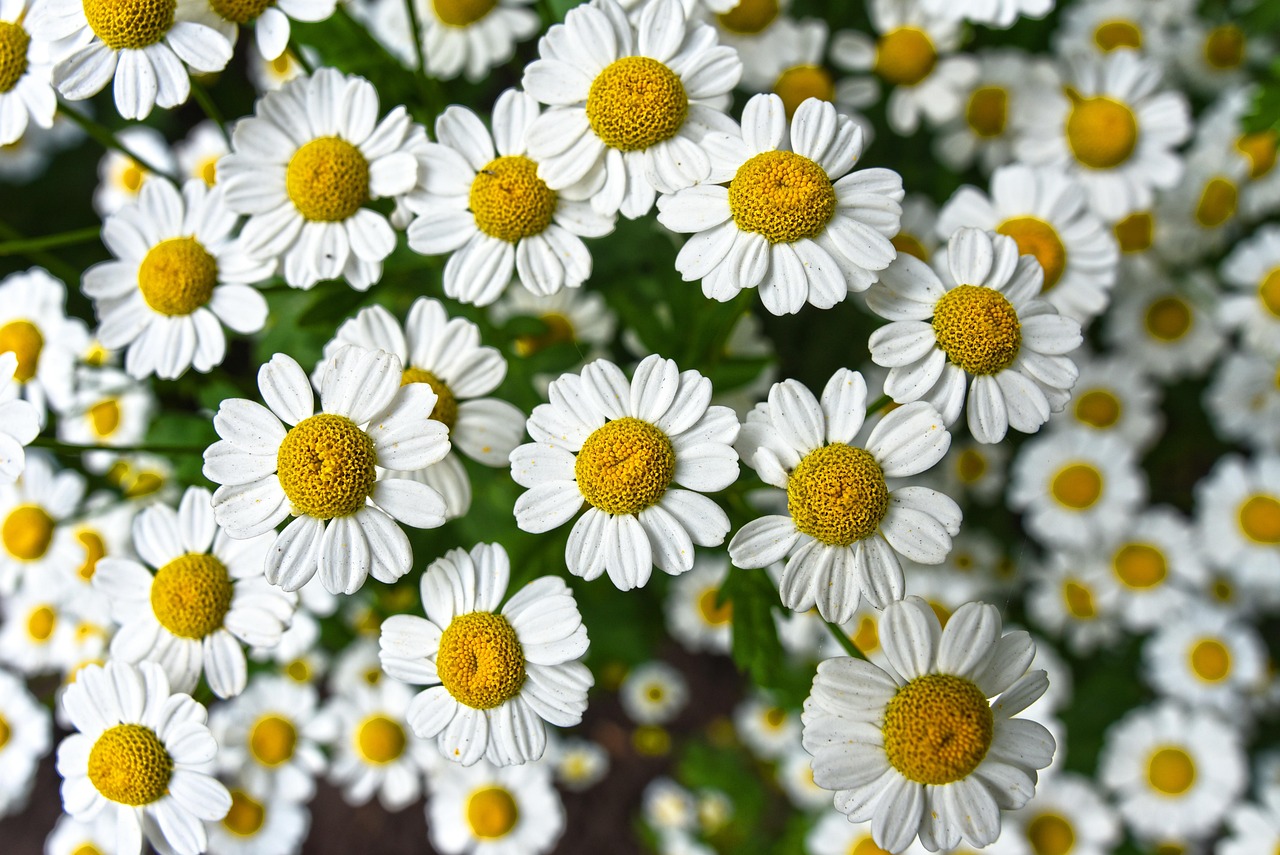
German chamomile typically begins flowering 6 to 10 weeks after germination, depending on conditions. The flowers open with flat white petals surrounding a raised yellow center. As the flower matures over several days, the petals begin to reflex, bending downward away from the center dome.
For cosmetic and aromatic purposes, the optimal harvest window is when flowers are fully open but before the petals have begun to droop noticeably. This is when aromatic content in the flower heads is at or near its peak concentration.
Harvesting Chamomile Flowers for Oil
Step 7: Harvest at the Right Time of Day
Harvest in the mid-morning, after the dew has dried but before afternoon heat peaks. Aromatic compounds are most concentrated in chamomile flowers during cooler parts of the day. Avoid harvesting on rainy or overcast days when moisture content in the flowers is higher than usual.
Step 8: Pick the Flower Heads
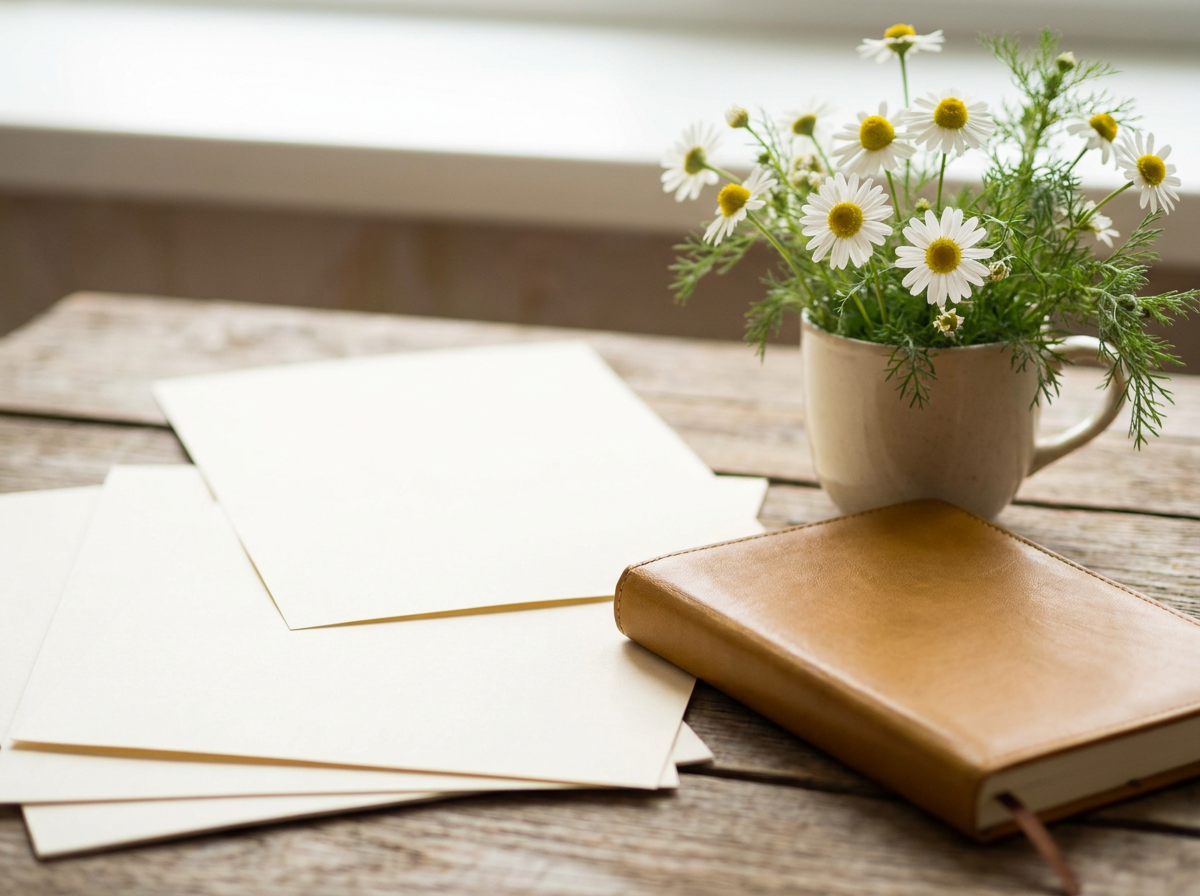
Pinch each flower head off just below the base of the petals, leaving the stem on the plant. A chamomile plant that is harvested regularly will continue producing new flower heads for several weeks. Frequent picking actually encourages more blooms, so do not hold back once plants are in full flower.
Use a small basket or paper bag to collect your harvest. Avoid plastic bags, which trap moisture and can lead to rapid deterioration of delicate floral material.
Step 9: Dry the Flowers Properly
Spread freshly harvested flower heads in a single layer on a clean mesh drying screen. Place the screen in a warm, well-ventilated spot out of direct sunlight. Gentle air circulation is key. Attic spaces, covered porches, and airy sheds all work well.
Drying typically takes 1 to 2 weeks depending on humidity. The flowers are ready when the centers feel crisp and completely dry to the touch. Store dried chamomile in an airtight glass jar, labeled with the harvest date, in a cool dark cupboard.
Properly dried chamomile retains its scent well for up to a year. After that, the aromatic quality begins to diminish. Use your dried flowers for infused oil projects or other botanical applications relatively soon after drying for best results. For more on what to do with your harvest, see our guide on how to make chamomile oil at home.
Common Mistakes and How to Avoid Them
- Covering the seeds: Chamomile seeds are among the smallest in the herb garden, and burying them even shallowly prevents germination. Press onto the surface only.
- Overwatering: More chamomile fails from waterlogged roots than from drought. When in doubt, water less.
- Harvesting too late: Flowers with reflexed, drooping petals have already passed their aromatic peak. Check your patch every other day once blooming begins.
- Drying in sunlight: Direct sun bleaches the flowers and drives off volatile aromatic compounds quickly. Always dry in shade with good airflow.
- Skipping thinning: Overcrowded plants produce fewer flowers and are more prone to foliar issues. Give each plant its space.
What to Expect From Your Harvest
A well-tended 4 by 6 foot bed of German chamomile can yield a generous quantity of dried flower heads over its blooming season, typically several ounces to a pound or more of dried material, depending on conditions and how frequently you harvest.
It is worth noting, with honesty, that home-grown chamomile is rarely suitable for steam distillation into essential oil at the kitchen scale. True chamomile essential oil requires an enormous quantity of fresh flower heads and specialized distillation equipment. Producing even a few milliliters of genuine steam-distilled oil from home-grown Matricaria chamomilla is a project requiring industrial volumes of plant material.
What your home harvest is genuinely excellent for: creating fragrant infused oils, aromatic sachets, botanical bath soaks, and cosmetic preparations. The scent of freshly dried home-grown chamomile, described in detail in our article on what chamomile essential oil smells like, is sweet, apple-like, and faintly herbal. Even a dried flower sachet carries that recognizable character beautifully.
Home cultivation also deepens your understanding of quality when you purchase professionally distilled chamomile essential oil. You will know, from firsthand experience, what authentic Matricaria chamomilla flowers look and smell like at their best. That knowledge makes you a far more discerning buyer. You can read more about what to look for in a quality product in our complete guide to chamomile essential oil.
Letting Chamomile Self-Sow
One of the most charming qualities of the Matricaria chamomilla plant is its willingness to return year after year without being replanted. Allow a portion of your late-season flowers to go to seed fully. The tiny seeds will drop and lie dormant through winter, germinating the following spring in a slightly unpredictable but always pleasant scatter across the bed.
After the first season, many gardeners find their chamomile patch becomes largely self-sustaining. You may find seedlings appearing in gravel paths, between paving stones, or cheerfully colonizing a neighboring bed. German chamomile has a long history of being called the "plants' physician" in old European garden folklore, partly because neighboring plants often seem to thrive alongside it. Whether that holds up under modern botanical study is an open question, but the spirit of it fits the plant's generous, easygoing nature perfectly.
Grow a patch, tend it with a light hand, and harvest often. The ritual of stepping outside on a dry morning to collect a basket of chamomile flower heads, fragrant and warm from the sun, is its own quiet reward.